Biohacking isn’t just for humans. It can be used for any biological lifeform. A fancy term to make people feel more relevant and less old (me to a tee) when seeking a smart, natural shortcut to lush longevity. Who doesn’t really?
This is definitely what we want for our plants. Happy healthy gardens = happy healthy humans and vice versa. Spring renews our seed sowing vigour. It’s tempting to get straight out there with unsullied seed packets in tow. But pray tarry awhile!
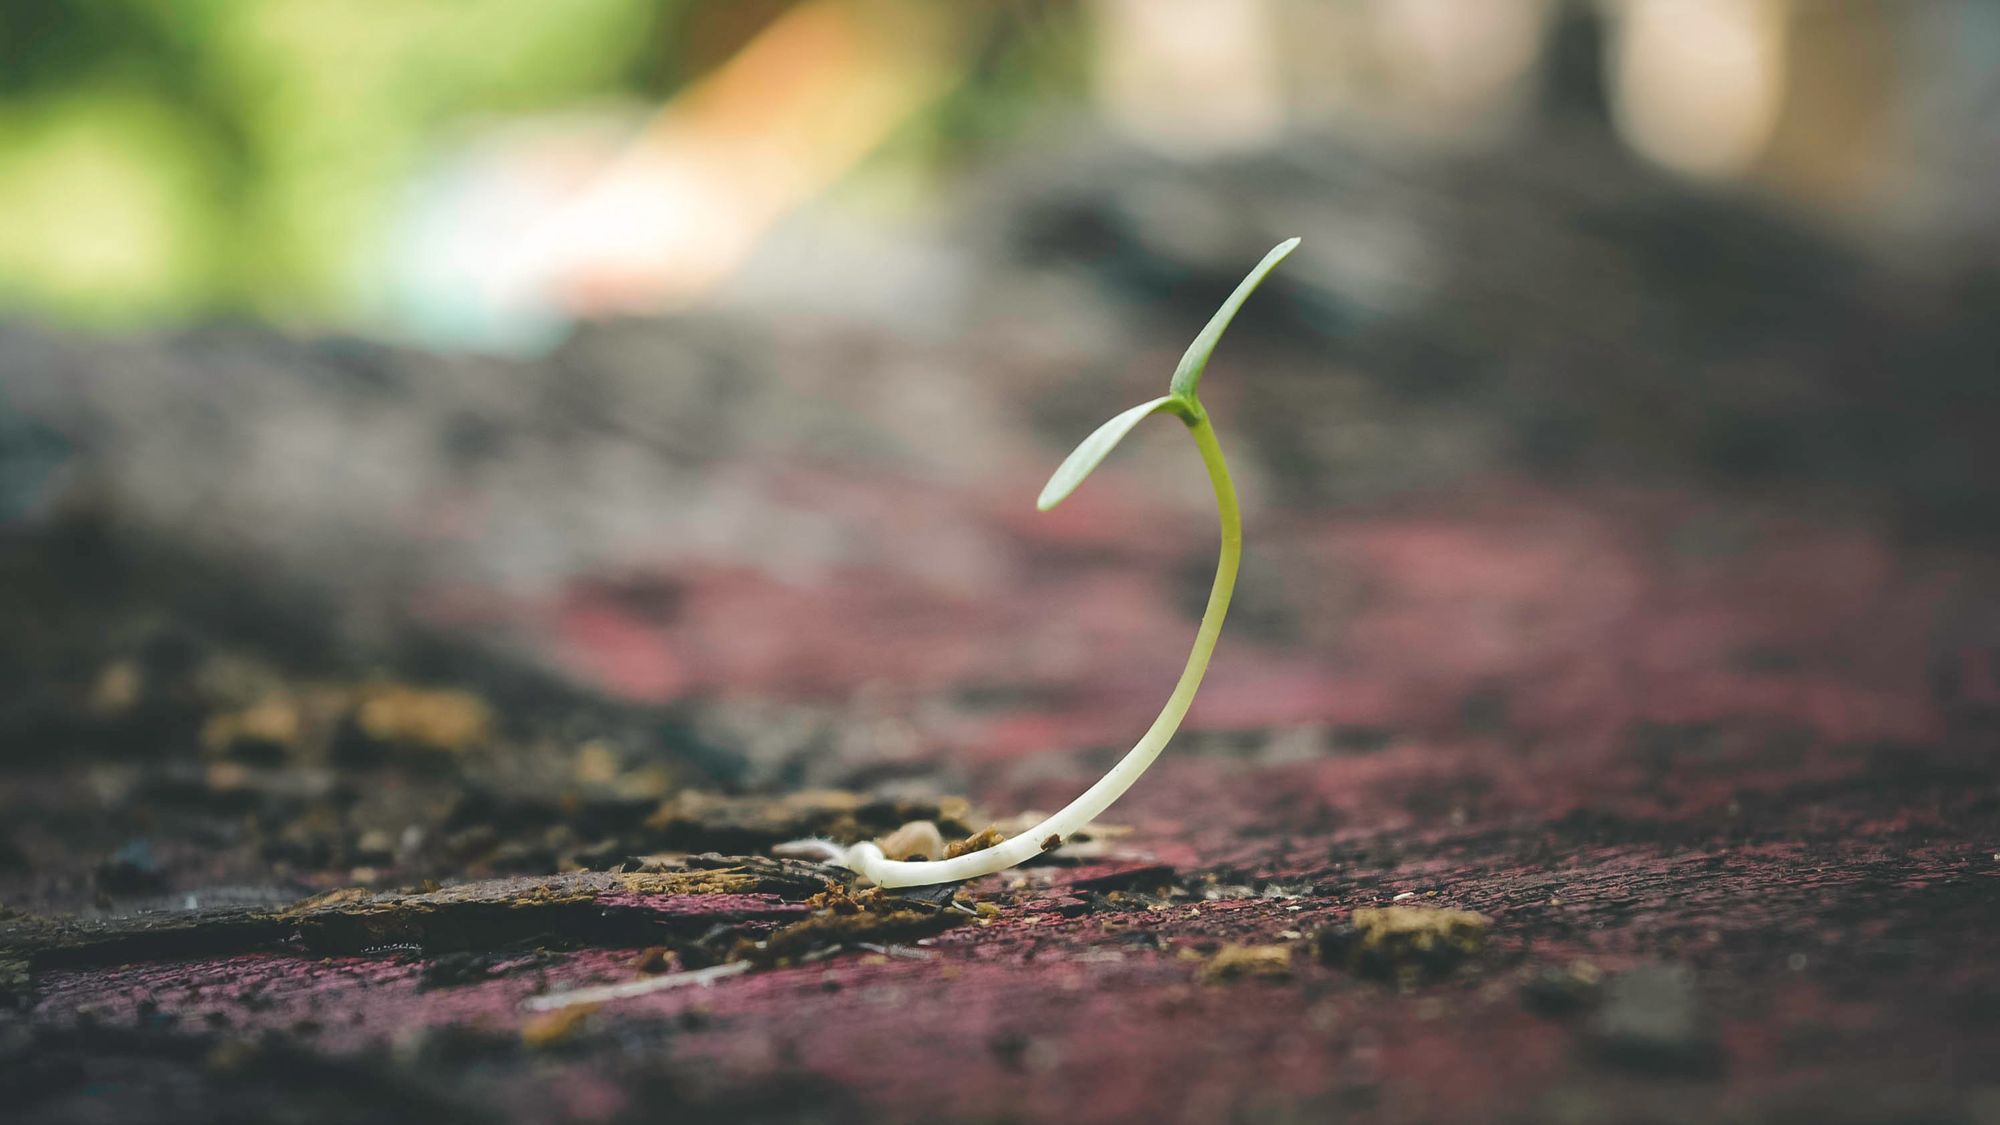
A seed houses infinite possibilities and is a perfected 3D print for life. Our hacks focus on creating optimal conditions for striking the highest percentage possible and paying homage to the hard work already done.
In nature we think of the cycle of life being a thing which happens automatically. Left to their own devices, a seed will just grow right? This isn’t the case which is why so many are produced. We need to replicate the perfect conditions to encourage seeds to sprout at [our] will.

10 To-live-for hacks:
#1 Viable
Know your seed! Viability wanes as it gets older. There are a few variables but generally seed is most likely to germinate and grow true when it’s:
- Alive and ripe
- Open pollinated and heirloom
- Saved and stored in clean, dry, dark & cool conditions
- Less than 2 years old
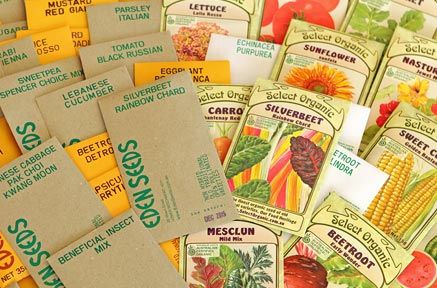
Yes, you can have success when not all the above are fulfilled but with diminishing returns. We’re not here for that. We want bang for buck whether creating food for an army [in 3 months time] or a full blown native habitat.
#2 Deepsoak
An overnight soak can dramatically increase the germination rate and noticeably impact your overall green thumb rating. Seeds are alive and unless they’re wearing water wings will drown when underwater too long. Around 12 hours will weather down their defences by breaking through dormancy inhibitors and send a message there’s enough moisture to activate their code.
#3 Chitt
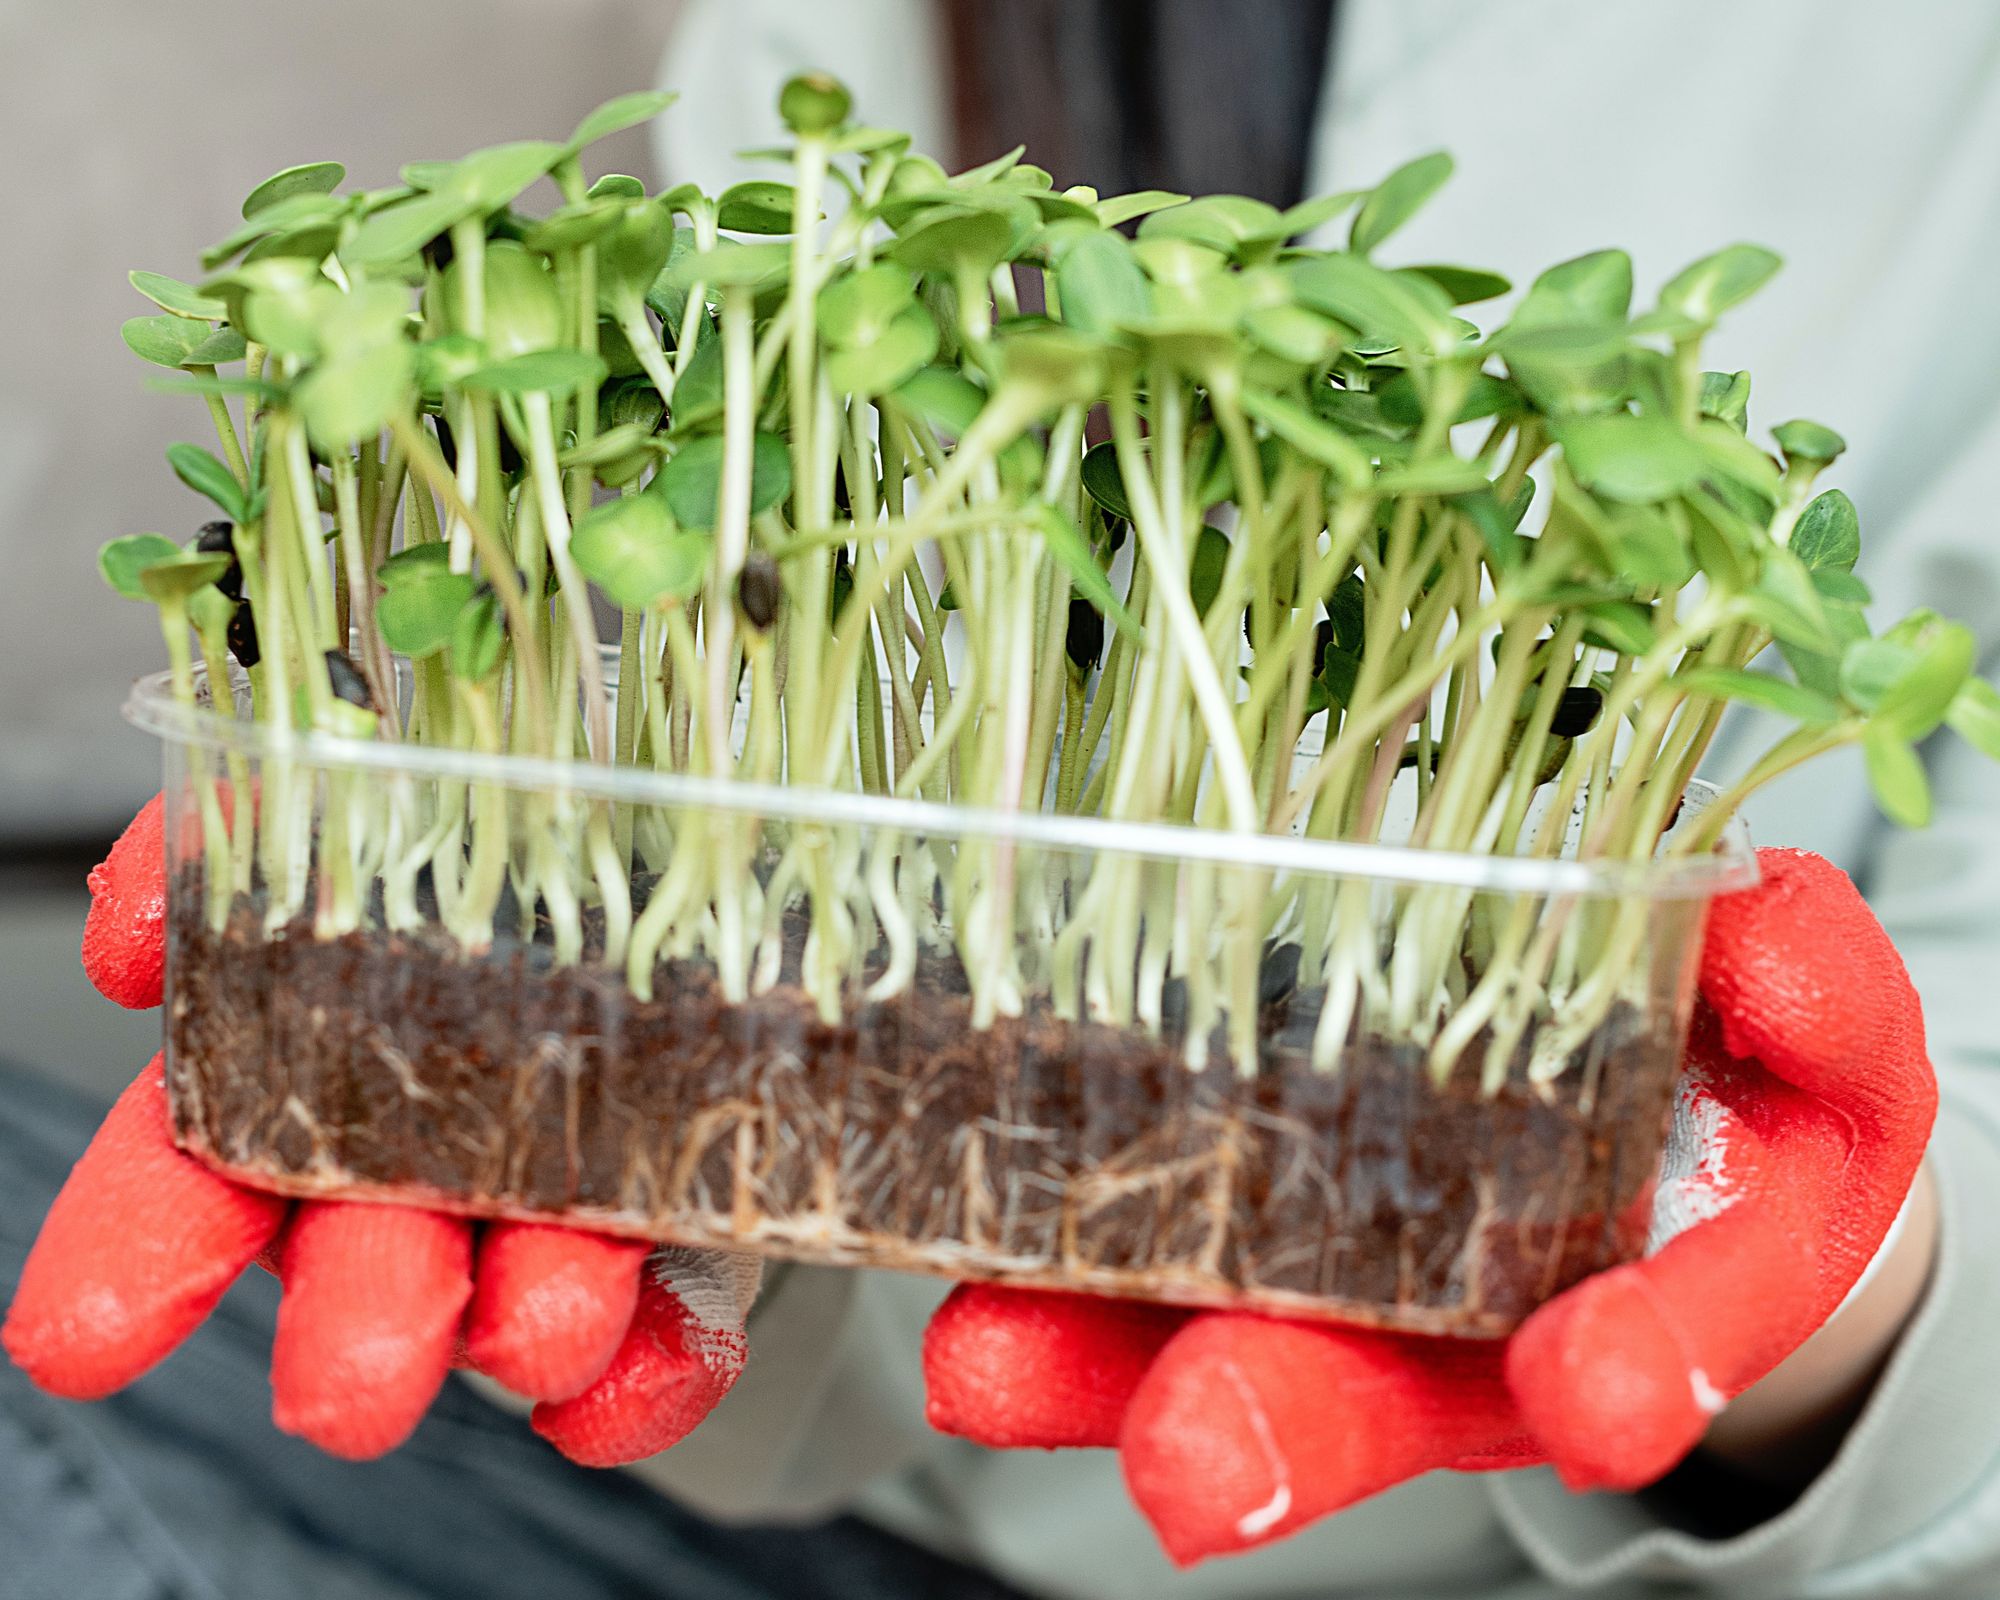
Keep your pants on! Not to be confused with anything else, chitting is derived from 17C English. It means to shoot or sprout. It’s already been half-adopted into many healthy kitchens where seeds are used for sprouting and eating eg. alfalfa or mustard.
By starting seeds in a controlled environment like a seed sprouter [or jar with mesh/cloth] we separate unviable from the viable. Let them sit in water overnight then empty. Thereafter proceed as for sprouting edible greens. Rinse and drain for as many days as it takes.
Plant out [very carefully] when there’s a visible sprout and little root. It’s OK if they go in upside down, the seeds will work it out.
#4 Scarify
Tough or large seeds often need a helping hand if you’re on a schedule. If their covers are softened just prior to planting they are able to absorb moisture and activation messages faster. We’re replicating nature’s wear & tear on the seed and shortening sleep time on their inner alarm clock. Time to wake up!
A gentle sandpaper rub will do the trick, just enough to take the edge off. Too much will damage the dormant seed within.
#5 Undercover
We all like getting the jump on Spring but timing needs to be impeccable and changes year in, year out. This depends on weather, us and many other factors.
Too early and we’re facing wasted seed as it rots and withers in contrary conditions, or has been eaten by hungry critters etc. This is why protected environments like growing indoors or covered seedling trays is useful. By closely controlling conditions in individual microclimates we can experiment with our God Complex in the pursuit of creating life.
#6 Hotties
Seeds are like Goldilocks. They like it hot, but not too hot and mostly never cold. They’re notoriously fussy and have a preferred soil temperature for slipping out of their attached hardcover oodies. It’s a balmy 25-35°C, hence seeds' reluctance to get out of bed early when we’re trying to catch the Spring worm.
How to counter this? In a controlled undercover environment like indoors or propagation trays use a heat mat, hot water cupboard, warm spot by the window sill…
#7 Direct
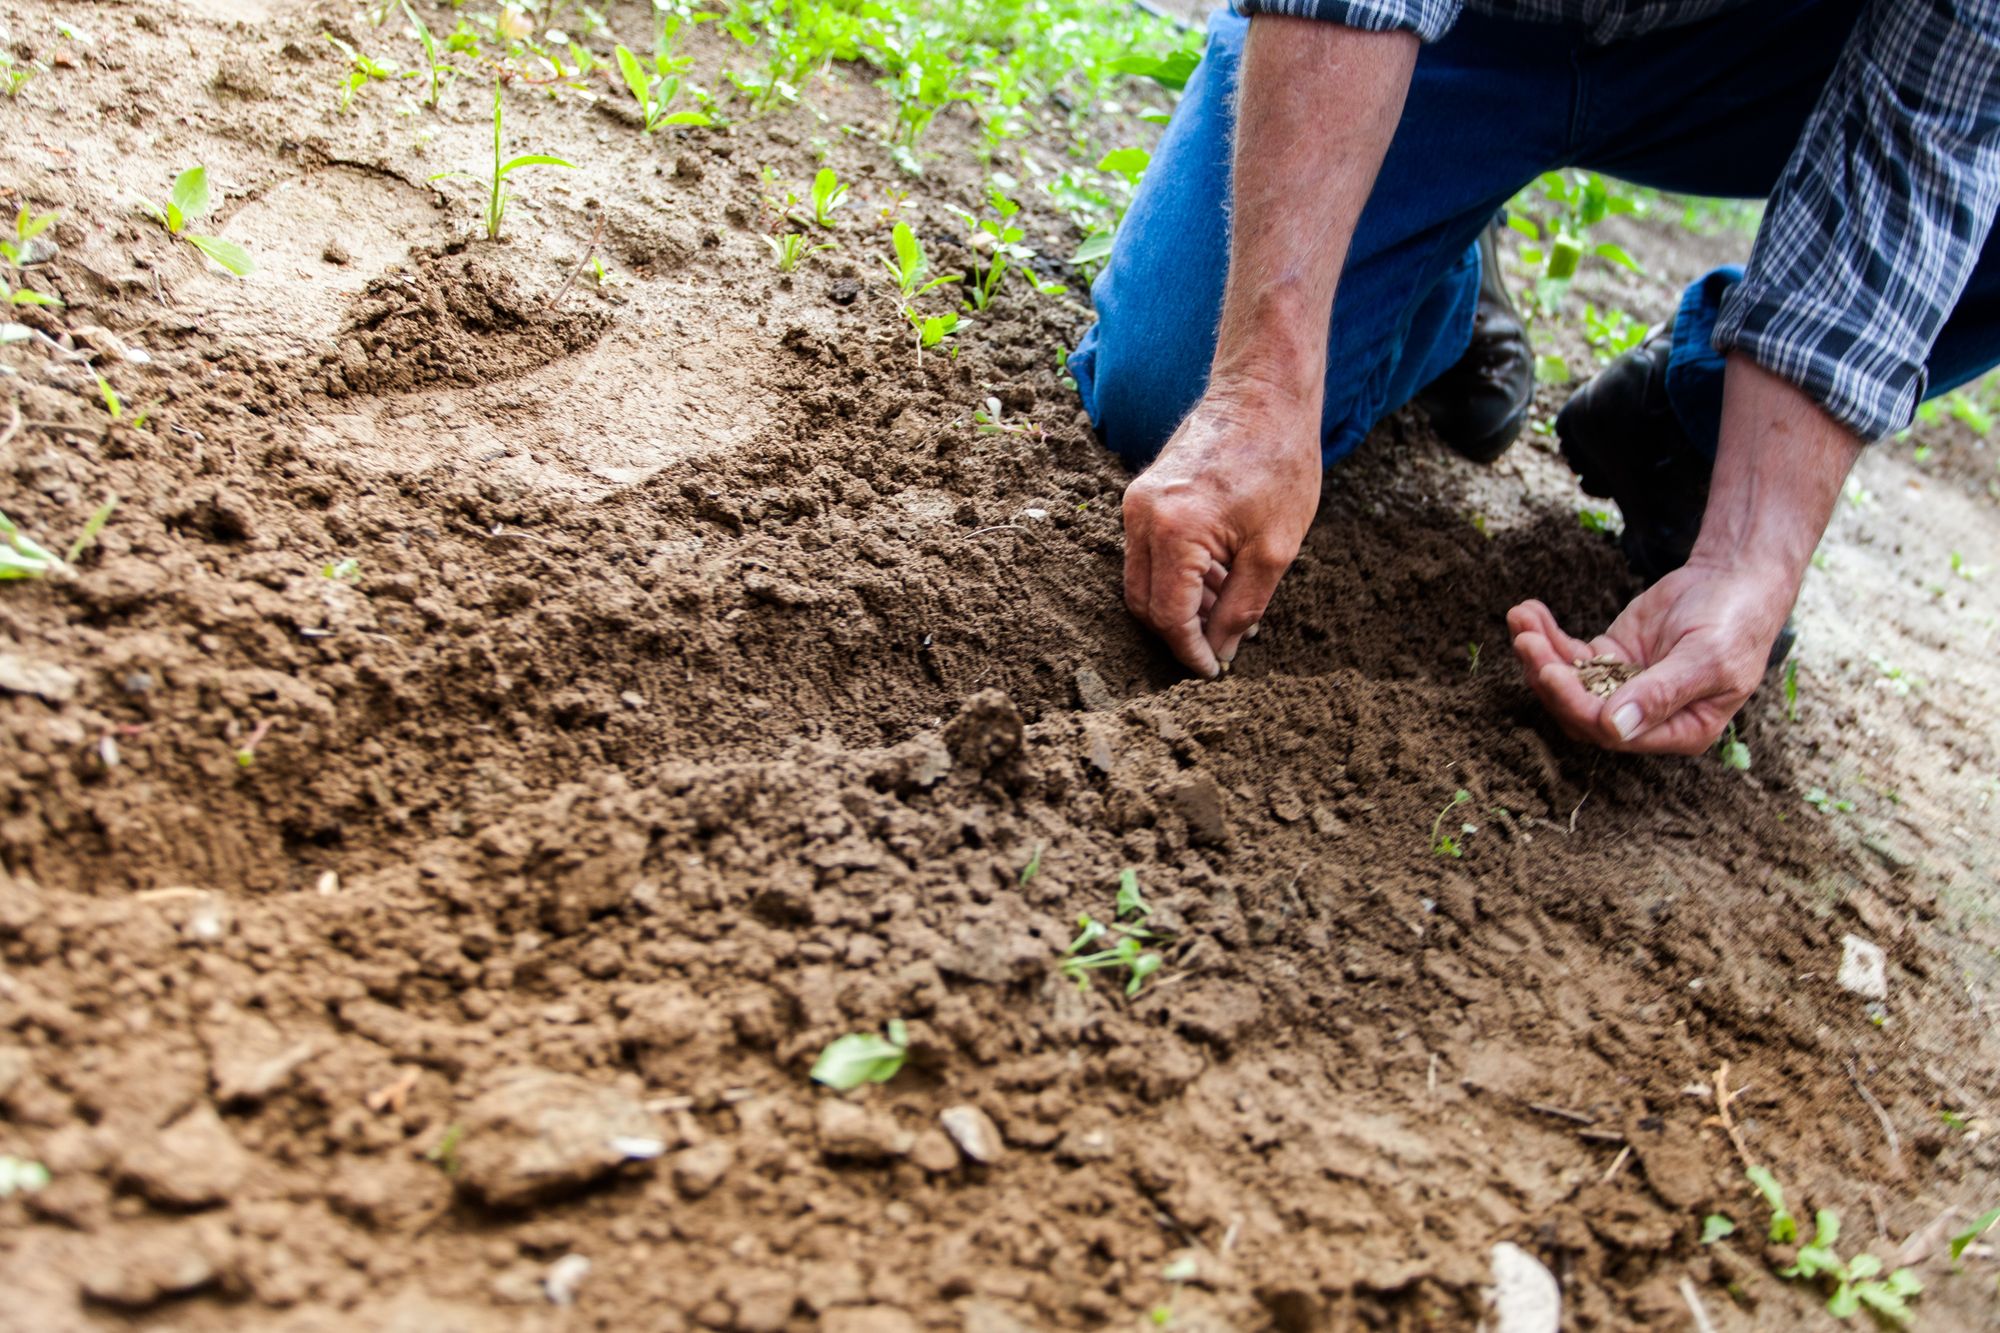
Direct sowing has many advantages. Plants are quite introverted until they flower. They don’t like to be over handled let alone transplanted. Some are more tolerant than others.
Bean and root crops are usually best sown outdoors once the soil temperature has warmed, and the risk of frost passes. Any plant which starts in it’s forever position will be tougher to withstand climatic assaults. A few things to do first:
- Enrich the soil. Mixed worm castings are like gold!
- Eliminate competition. Weed the area well.
- Timing is everything. Check your seed’s preferences.
- Sow the correct depth. Too deep is the kiss of death; the seed will die of exhaustion before it makes the surface
- Water as if you were washing a baby, softly softly.
- Mulch once they’ve got their 2nd set of leaves in.
#8 Sandcastles
What, you say? Yes! We get to build moats and play with sand! An inclusive activity for all ages. This is a cool trick for dealing with all those teeny tiny seeds and oversized fingers and thumbs. Gently mix your teeny tiny seeds eg. carrots into a couple of teaspoons of fine sand. River sand is OK, whatever you can source.
Make little moats with your tool of choice into prepared growing medium. Fingers are fine. Pour sandy seed mix in. Cover and gently water. Voila! You’ve got yourself evenly distributed seeds in a row. Sculpt into fun shapes if you wish.
#9 Medium
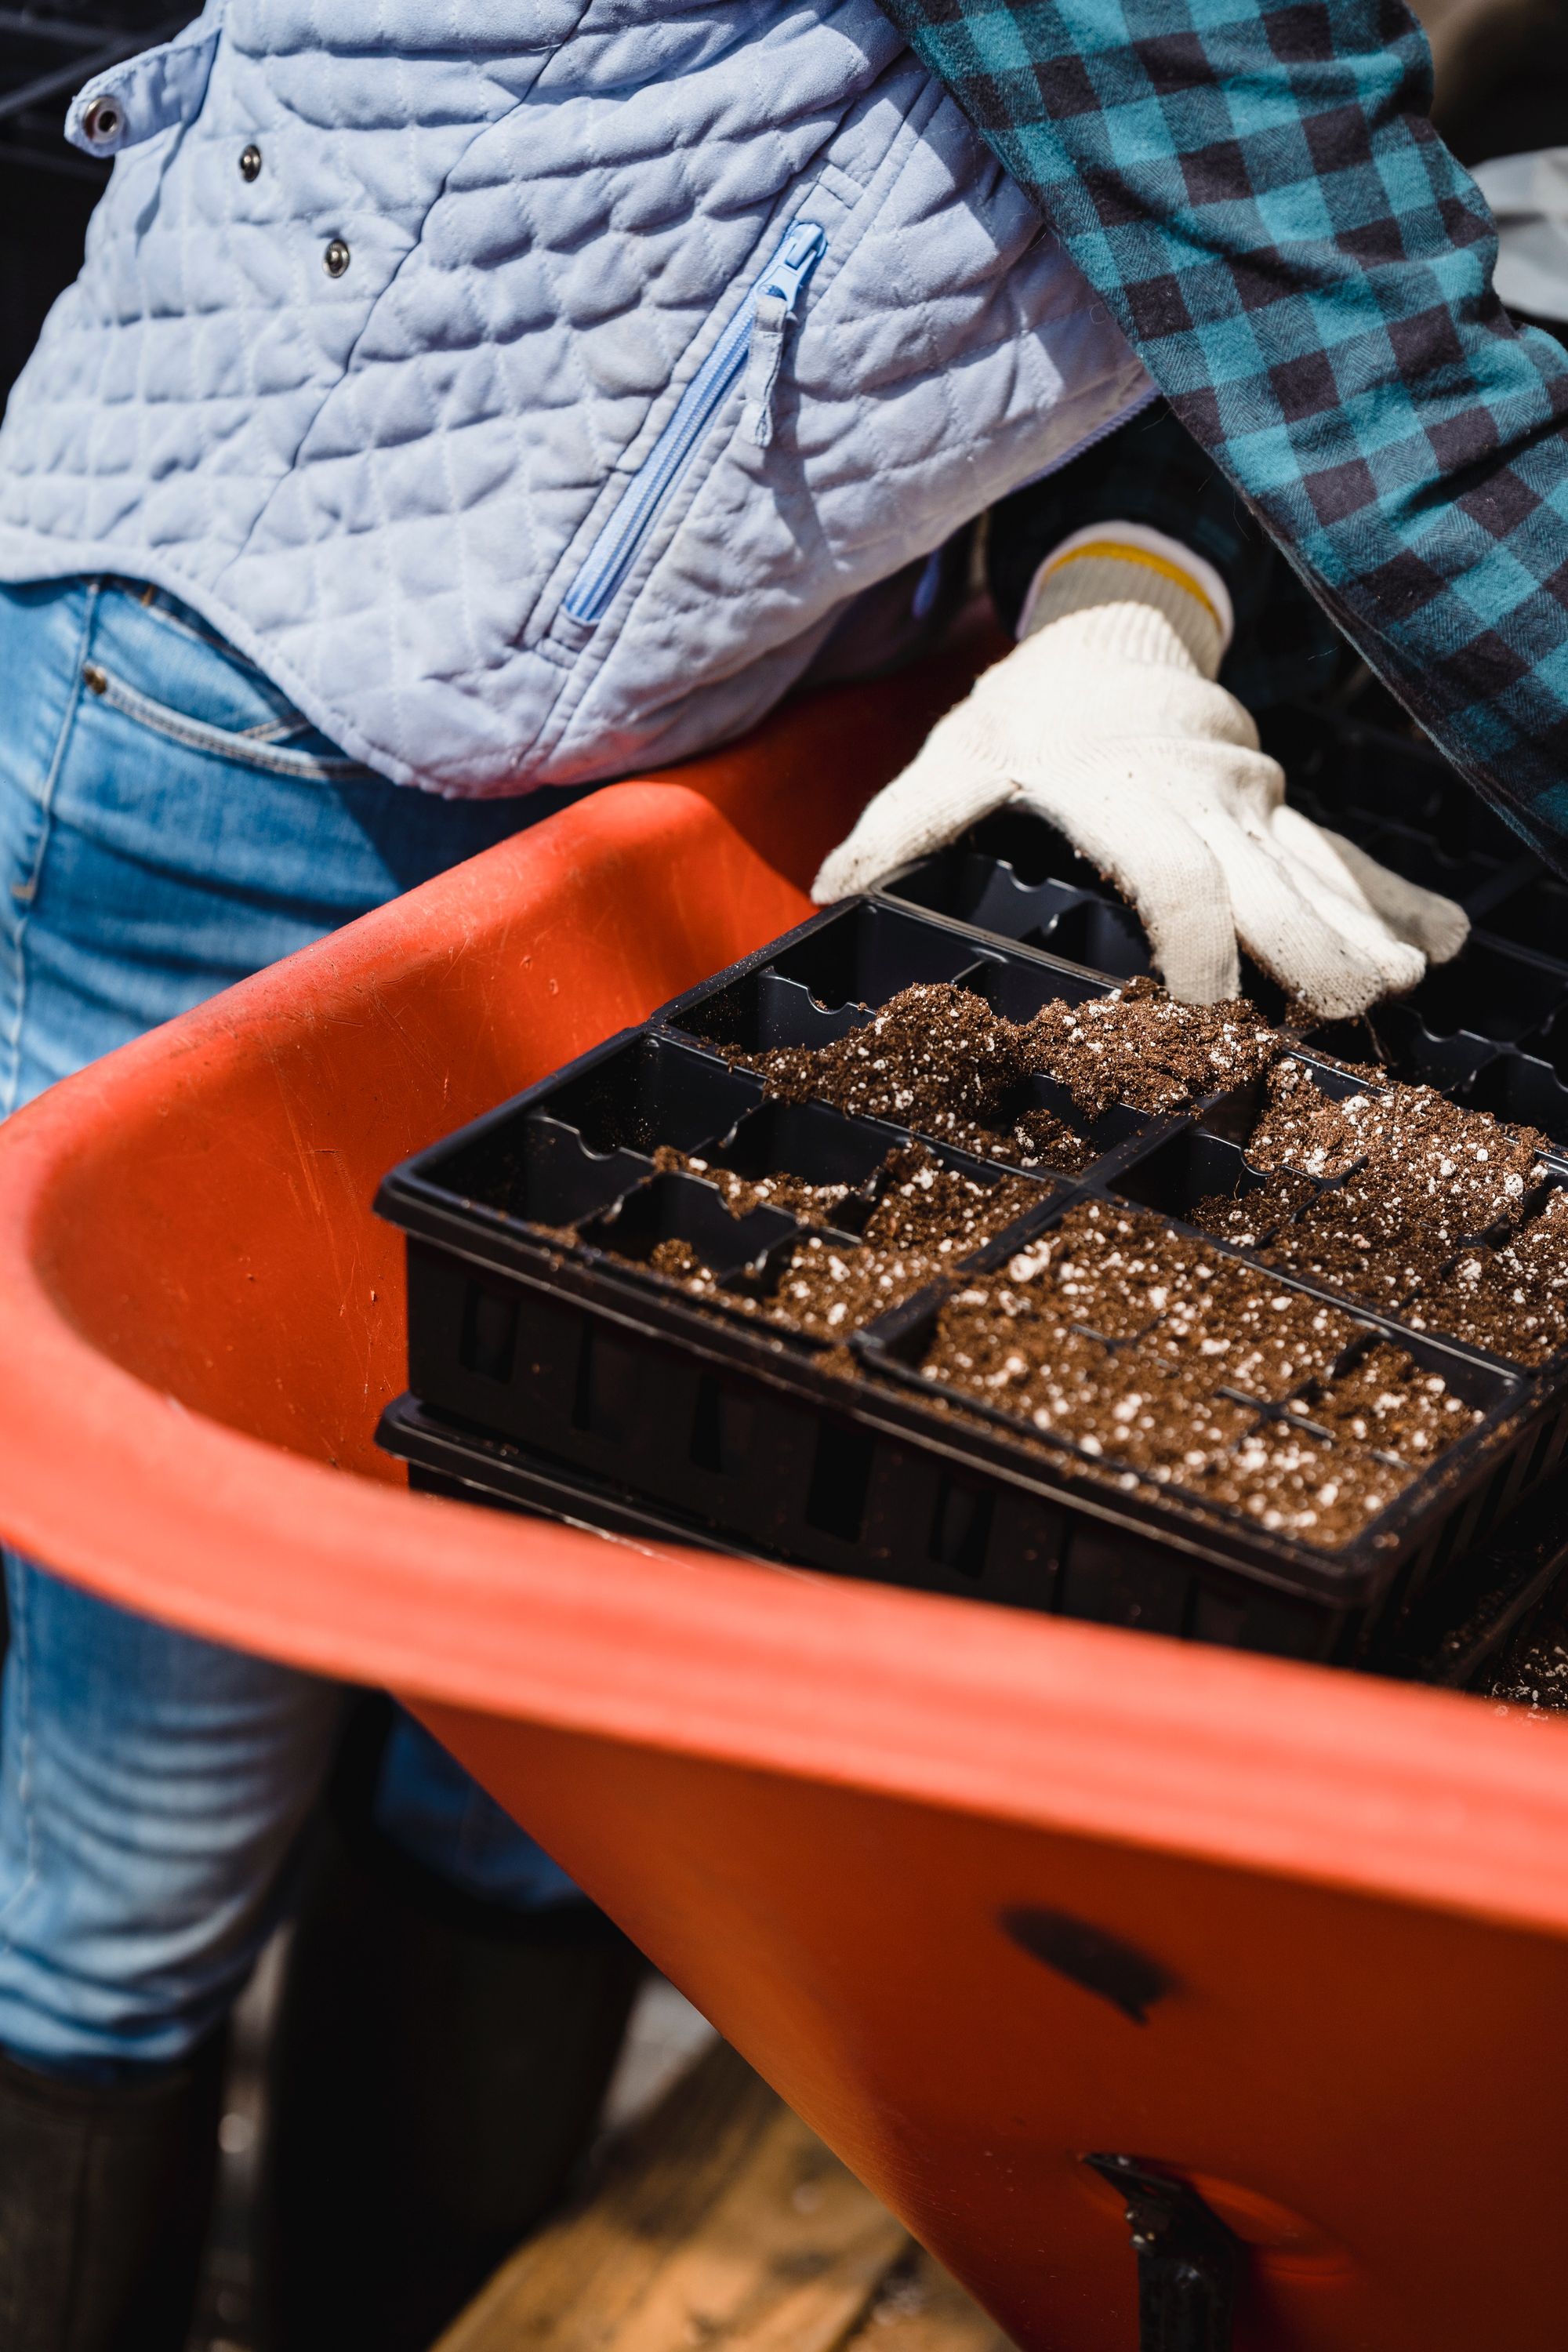
It's almost the composter’s moment to shine, not quite. At the very beginning of a seed's life our compost is too heavy. Seeds require a light well drained [yet moisture retaining] touch. A well sieved seed mix combining worm castings, coir and vermiculite works well. There’s a balance to be sought with what you have readily available locally versus embodied energy for imported materials. The only rule is Goldilocks: it’s got to be just right. No pressure!
#10 Climate
Always sow to the conditions and what your plant likes. Nothing is impossible but rule of thumb is to grow to your climate zone for maximum productivity and at the appropriate time of year.
Through the creation of micro climates we can optimise growing conditions in different spaces if need be. The weather is increasingly erratic, so create an insurance plan for your crops. While it’s raining, catch and store water, when it’s dry, release it back into the earth to feed your plants which mostly don’t like it too hot, too dry, too wet, too cold…
Ensure there is adequate drainage so infant plants don’t rot or drown in the ground. Cover them overhead if need be and mulch. And collect the water. Rinse, repeat!

